










































































I. Introduction
A. Importance of website security:
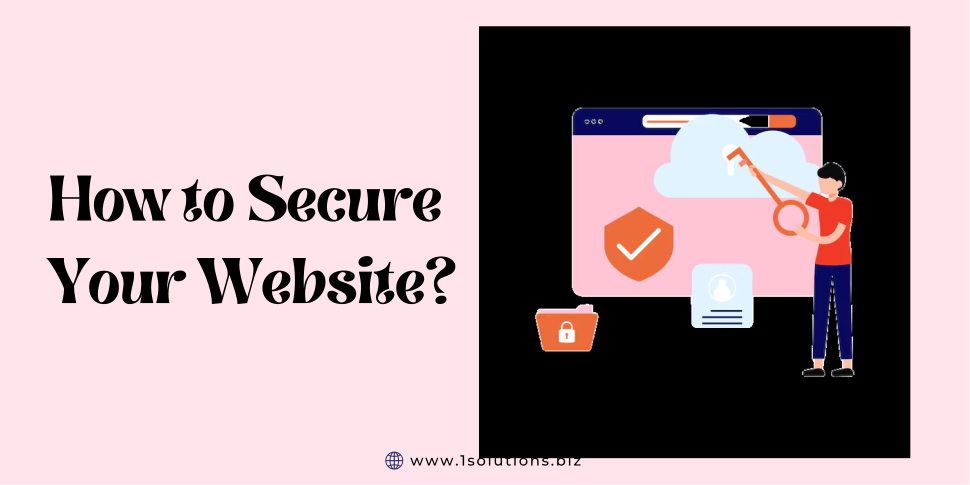
In today’s digital landscape, website security is crucial due to the increasing number of cyber threats. A secure website protects sensitive user information, preserves the reputation of your business, and safeguards your customers’ trust. It also helps prevent financial losses resulting from data breaches or downtime.
B. Growing threats to website security:
Websites face a wide range of threats, including hacking attempts, data breaches, malware infections, and Distributed Denial of Service (DDoS) attacks. These threats can result in financial loss, damage to your brand reputation, and legal liabilities. It’s important to recognize the evolving nature of these threats and take proactive steps to secure your website.
II. Conduct a Security Audit
A. Assessing current security measures:
Conduct a comprehensive review of your website’s existing security measures. This includes evaluating firewall configurations, authentication methods, access controls, and security protocols. Understanding your current security posture will help identify areas that require improvement.
B. Identifying vulnerabilities and weak points:
Utilize security scanning tools and penetration testing techniques to identify vulnerabilities and weak points in your website’s infrastructure. This includes checking for outdated software versions, unpatched systems, insecure plugins or themes, and misconfigurations. These assessments help pinpoint potential entry points for attackers.
C. Prioritizing security risks:
Once vulnerabilities are identified, prioritize them based on their potential impact and likelihood of exploitation. Focus on addressing high-risk vulnerabilities that could lead to significant damage or data breaches. By prioritizing and addressing these risks, you can allocate resources effectively and minimize potential security incidents.
Example: During a security audit, you discover that your website’s login page is vulnerable to SQL injection attacks due to improper input sanitization. This vulnerability allows attackers to manipulate the database and potentially access sensitive user information. Addressing this high-risk vulnerability becomes a top priority.
III. Implement Strong Password Practices
A. Importance of strong passwords:
Weak passwords are a common entry point for attackers. Emphasize the importance of strong passwords in protecting user accounts and sensitive data. Weak passwords can be easily guessed or cracked using automated tools, leaving user accounts vulnerable to compromise.
B. Tips for creating secure passwords:
Educate users on best practices for creating strong passwords. Encourage the use of a combination of uppercase and lowercase letters, numbers, and special characters. Discourage the use of common words, personal information, or easily guessable patterns. Additionally, encourage the use of passphrases, which are longer and more secure than traditional passwords. If you are a WordPress user, you can easily use the ‘Suggest Password’ feature in WordPress to generate a strong password easily.
C. Utilizing password managers:
Recommend the use of password managers to generate and securely store complex passwords for different websites. Password managers eliminate the need to remember multiple passwords and reduce the risk of password reuse or weak passwords.
Example: By implementing strong password practices, such as using complex combinations and passphrases, users’ accounts are less likely to be compromised. This increases the overall security of your website and protects user data from unauthorized access.
IV. Regularly Update and Patch Software
A. Keeping software up to date:
Regularly updating your website’s software, including the Content Management System (CMS), plugins, themes, and server operating system, is essential for maintaining security. Software updates often include security patches that address known vulnerabilities and fix bugs.
B. Applying security patches promptly:
Stay informed about security vulnerabilities relevant to your website’s software components. When security patches or updates are released, apply them promptly to protect your website from known vulnerabilities. Delaying patches increases the risk of exploitation.
C. Automating update processes:
Automating the update process can streamline and ensure the timely application of security patches. Utilize tools or enable automatic updates whenever possible. This reduces the risk of human error and ensures critical security updates are not overlooked.
Example: Suppose a critical security vulnerability is discovered in a popular CMS version that your website uses. The vulnerability allows attackers to gain unauthorized access to sensitive customer data. By promptly applying the security patch provided by the CMS provider, you effectively close the vulnerability and prevent potential data breaches.
V. Secure Network Connections
A. Using HTTPS for secure data transfer:
Implement HTTPS (Hypertext Transfer Protocol Secure) to encrypt the communication between your website and users’ browsers. HTTPS uses Secure Sockets Layer (SSL) or Transport Layer Security (TLS) protocols to encrypt data, ensuring it remains confidential during transmission.
B. Implementing SSL/TLS certificates:
Obtain and install SSL/TLS certificates on your website. These certificates verify the authenticity of your website and establish a secure connection with visitors. There are different types of certificates, such as Domain Validated (DV), Organization Validated (OV), and Extended Validation (EV), each offering different levels of trust and security.
C. Monitoring network traffic for anomalies:
Implement network monitoring tools to monitor incoming and outgoing network traffic. Analyze network logs and traffic patterns to detect anomalies, such as unusual spikes in traffic, suspicious IP addresses, or patterns indicating potential attacks. Identifying these anomalies allows you to respond promptly to potential security incidents.
Example: By implementing HTTPS and SSL/TLS certificates, your website ensures that sensitive information, such as login credentials and payment details, is encrypted and protected from interception. This establishes trust with users and reduces the risk of data breaches.
VI. Utilize Web Application Firewalls (WAF)
A. Understanding the role of WAFs:
Web Application Firewalls (WAFs) act as a protective barrier between your website and potential attackers. WAFs analyze incoming web traffic, filter out malicious requests, and block common attack patterns, such as SQL injections, XSS attacks, and brute-force attempts.
B. Selecting the right WAF for your website:
Choose a WAF solution that aligns with your website’s specific needs and requirements. Consider factors such as ease of configuration, integration with existing systems, real-time threat intelligence capabilities, and the ability to customize rule sets.
C. Configuring and monitoring WAF settings:
Properly configure your WAF to effectively filter out malicious traffic while allowing legitimate requests. Fine-tune rule sets, update threat intelligence feeds, and monitor WAF logs regularly. This ensures optimal protection and the ability to adapt to evolving threats.
Example: By deploying a WAF, your website can detect and block common web-based attacks. For instance, if an attacker attempts an SQL injection attack to gain unauthorized access to your website’s database, the WAF analyzes the request, detects the malicious pattern, and blocks it, preventing potential data breaches.
VII. Perform Regular Backups
A. Importance of website backups:
Regularly backing up your website’s files and databases is crucial for recovering from security incidents, system failures, or accidental data loss. Backups provide a restore point to revert to in case of emergencies, preventing potential data loss and minimizing downtime.
B. Choosing a reliable backup solution:
Select a backup solution that automates the backup process and securely stores backups in a remote location. Consider factors such as backup frequency, storage capacity, and ease of restoration. Offsite or cloud backups provide added redundancy and protection against physical damage or local system failures.
C. Testing and verifying backups:
Regularly test and verify the integrity of your backups to ensure they are complete and can be successfully restored if needed. Conduct periodic restoration drills to validate the backup process and make any necessary adjustments.
Example: Imagine your website experiences a security breach that results in data loss or corruption. By having recent backups available, you can restore your website to a pre-incident state, ensuring business continuity and minimizing the impact on your users and operations.
VIII. Implement User Access Controls
A. Limiting access privileges:
Grant user access privileges on a need-to-know basis. Avoid providing excessive administrative or elevated privileges to minimize the potential impact of compromised accounts. Regularly review and modify access privileges as necessary.
B. Using strong authentication methods:
Implement strong authentication mechanisms, such as multi-factor authentication (MFA), to verify the identity of users. MFA requires users to provide additional verification, such as a one-time password sent to their mobile device or generated by an authentication app, providing an extra layer of security.
C. Regularly reviewing and revoking user access:
Conduct regular reviews of user accounts and their access rights. Remove or modify access privileges for inactive or no longer needed accounts. Promptly revoke access for employees, contractors, or third-party vendors who no longer require access to your website.
Example: By implementing user access controls, such as MFA and regular access reviews, you reduce the risk of unauthorized access to sensitive areas of your website, such as administrative panels, customer databases, or confidential documents.
IX. Educate and Train Website Users
A. Promoting security awareness:
Educate your website users about the importance of website security and the potential risks they may encounter. Provide resources, articles, or guidelines that highlight best practices for secure browsing, password management, and identifying phishing attempts.
B. Training users on best security practices:
Offer training sessions or online modules to guide users on implementing security practices effectively. Teach them how to recognize common attack vectors, identify suspicious emails, and report potential security incidents.
C. Encouraging reporting of suspicious activities:
Establish clear channels for users to report any suspicious activities or security incidents they encounter while using your website. Encourage them to promptly report such incidents, as their vigilance and cooperation can help identify and mitigate potential threats.
Example: By raising security awareness among your website users and providing them with the necessary training, you empower them to actively participate in protecting their own accounts and personal information. This collective effort enhances the overall security posture of your website.
X. Monitor and Respond to Security Incidents
A. Setting up security monitoring tools:
Implement security monitoring tools that track and analyze website logs, network traffic, and system activity. These tools can help detect security incidents, such as unauthorized access attempts, unusual behavior, or patterns indicating a potential breach.
B. Responding promptly to security incidents:
Establish an incident response plan that outlines the steps to be taken in the event of a security incident. Assign roles and responsibilities to team members and ensure a swift and coordinated response. This includes isolating affected systems, conducting forensics, and communicating with relevant stakeholders.
C. Conducting post-incident analysis and remediation:
After resolving a security incident, perform a thorough analysis to identify the root cause, assess the impact, and implement measures to prevent similar incidents in the future. This may involve patching vulnerabilities, improving security controls, or enhancing employee training programs.
Example: Suppose your website’s security monitoring tools detect multiple failed login attempts from different IP addresses, indicating a potential brute-force attack. By promptly investigating the incident, blocking the malicious IPs, and strengthening authentication mechanisms, you prevent unauthorized access to user accounts and protect sensitive data.
XI. Conclusion
In this article, we have discussed several essential security measures to help you secure your website. These include conducting a security audit, implementing strong passwords, regularly updating software, securing network connections, utilizing web application firewalls, performing regular backups, implementing user access controls, educating and training users, and monitoring and responding to security incidents.
Whether you run an IT firm, a lawn care business, a pet care business, or any other small-to-medium-sized enterprise, these practices are critical for protecting your online assets and customer data.
It’s important to recognize that website security is not a one-time task, but an ongoing commitment.
Threats and vulnerabilities evolve continuously, and it is crucial to stay proactive and up-to-date with the latest security practices. Regularly assess and enhance your security measures to ensure your website remains resilient against emerging threats.
Protecting your website and user data should be a top priority—especially for businesses that rely heavily on local SEO and digital platforms to attract and retain customers. Take immediate action to implement the discussed security practices.
Invest the necessary time, resources, and effort to secure your website effectively. By doing so, you not only protect your business and reputation but also safeguard the trust and confidence of your users.
Remember, website security is a shared responsibility. It requires a combination of technical measures, user education, and proactive monitoring.
By implementing these security practices, you can significantly reduce the risk of security breaches, data loss, and other cyber threats.
Stay vigilant, adapt to new challenges, and prioritize the security of your website to ensure a safe and trustworthy online presence—no matter what industry you’re in.








 in India